Setting up Putty
Putty can be downloaded from here
Install it as you would any other program.
Putty settings for RRF
There are a couple of settings that should be modified to ensure that putty displays information from RRF correctly.
On the main putty window, click on terminal on the left.

From there, you need to change the following items.
Tick the box for:
- Implicit CR in every LF
- Implicit LF in every CR
Select the radio button:
- Force on
for both
- Local echo
- Local line editing
As shown below.

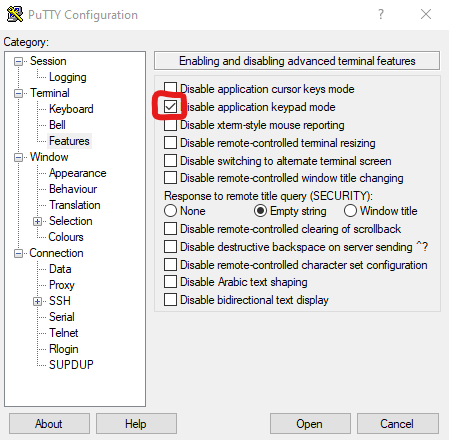
Now click on Features (under terminal) on the left menu and add a tick to Disable application keypad mode as shown below.
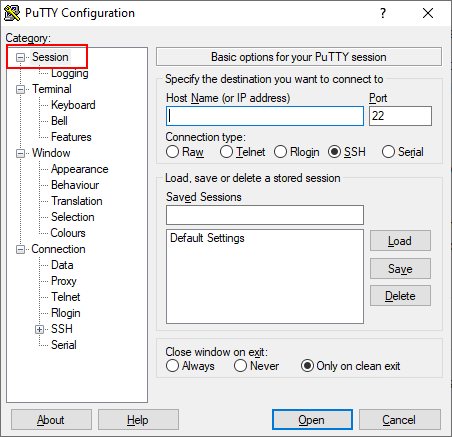
Now click on Session on the left menu.
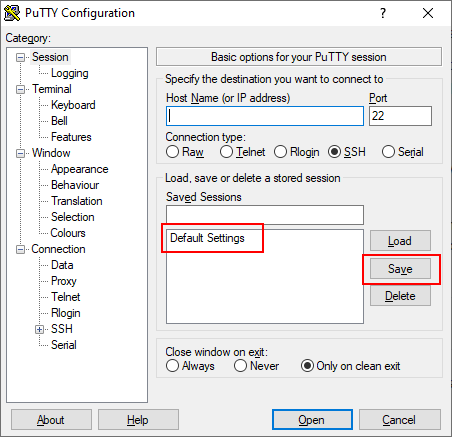
Finally, save the settings so they don’t need changing next time you open up putty.
Click on default settings and then click the save button.
Connecting to RRF
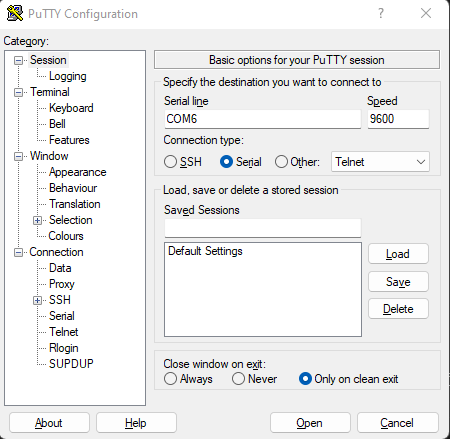
Click on the “serial” radio button highlighted below.
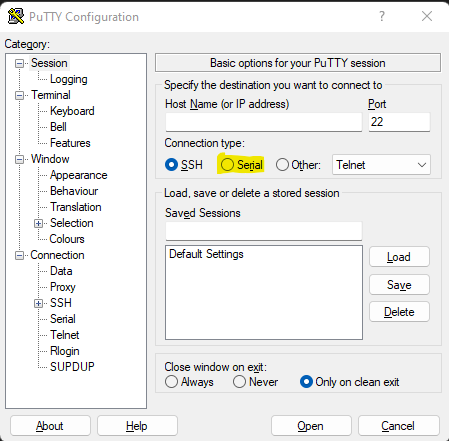
Fill in the COM port number of your RRF board. Leave the baudrate as it is. Then click “open”
