Overview
This page covers any general information for the Fly-E3-Pro board.
It is currently available through AliExpress.
Board.txt Name
The board name in board.txt is fly_e3_pro.
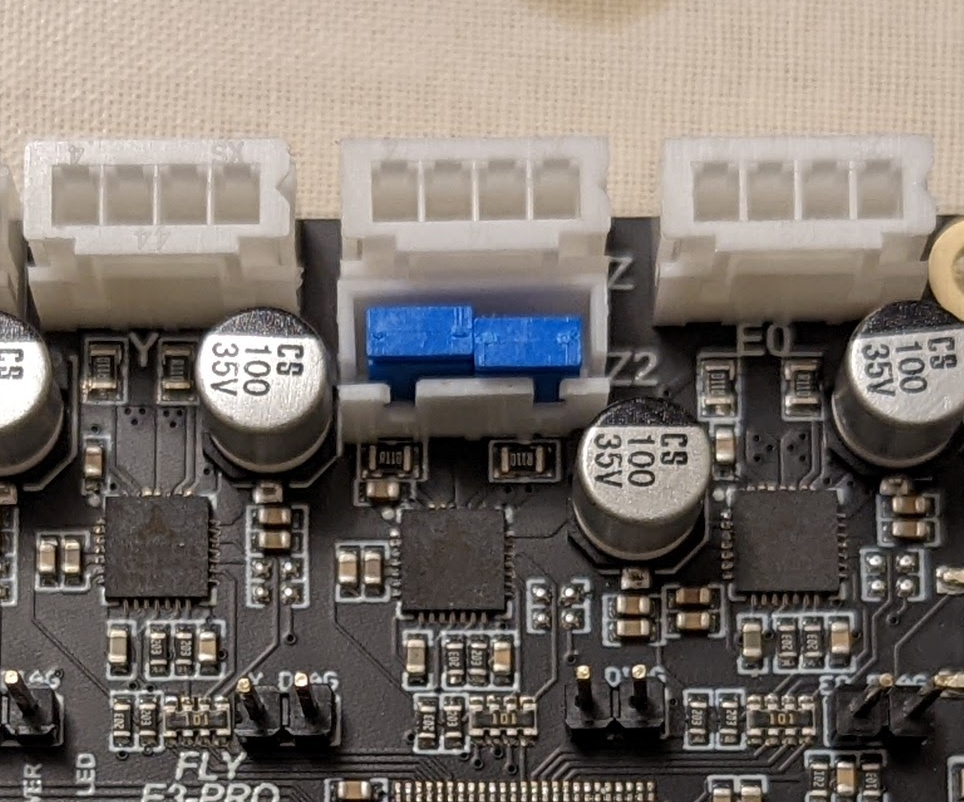
Z Driver Jumpers
If only one Z output is being used, jumpers should be installed on the other Z output as shown below.

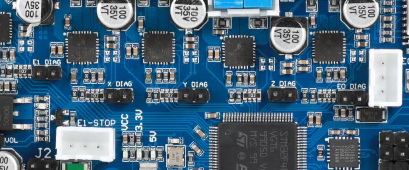
Driver Diag Pin
To use sensorless homing, a jumper must be installed on the diag header.

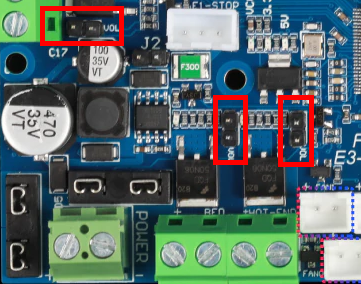
12v Input voltage Useage
If using the board with 12v, some extra jumpers are required to be installed. Install a jumper on each of the locations highlighted.

Maximum Input voltage
The board can handle an input voltage up to 32v.
Initial Installation
The board that you will receive doesn’t have any firmware installed so when plugged into a computer, the board will show as an unidentified device. Follow the WiFi instructions.
Ender 3 Conversion
There is an Ender 3 Conversion guide that gives a full walkthrough from start to finish.